以前一直使用的是 RubyMine 调试 CocoaPods 和开发 CocoaPods 插件,近期切换电脑发现配置不成功,而且因为一些原因在公司的设备上面不允许使用 RubyMine (平时也是比较少使用),索性考虑切换到VSCode上面吧。这里记录一下配置的过程。
本文使用的设备环境:macOS 15.1.1, Apple M系列芯片
使用RVM安装Ruby
系统自带的 Ruby 环境是 2.6:
ruby 2.6.10p210 (2022-04-12 revision 67958) [universal.arm64e-darwin24]
现在CocoaPods要求的 Ruby 环境 >= 2.7。需要安装一个高版本的Ruby环境,安装Ruby版本推荐使用 RVM, 安装比较简单一行命令搞定:
curl -sSL https://get.rvm.io | bash -s stable
安装完成后,可以使用命令安装对应版本的Ruby (这里我直接安装的是3.0.0):
rvm install ruby-3.0.0
直接报错:
ruby-3.0.0 - #compiling - please wait
Error running '__rvm_make -j14',
please read /Users/xxxx/.rvm/log/1732948971_ruby-3.0.0/make.log

There has been an error while running make. Halting the installation.
解决办法:
(1)先检查是否安装 openssl@1.1 , 可以通过 brew list 查看
如果没有安装可以先通过下面的命令安装:
brew install openssl@1.1
如果同时存在 openssl@3 的情况下,需要先执行:
brew link --overwrite openssl@1.1
最后执行下面的命令安装:
rvm install ruby-3.0.0 --with-openssl-dir=`brew --prefix openssl@1.1`
安装完成后,切换到当前安装的版本:
rvm use ruby-3.0.0
配置调试项目
安装VSCode插件
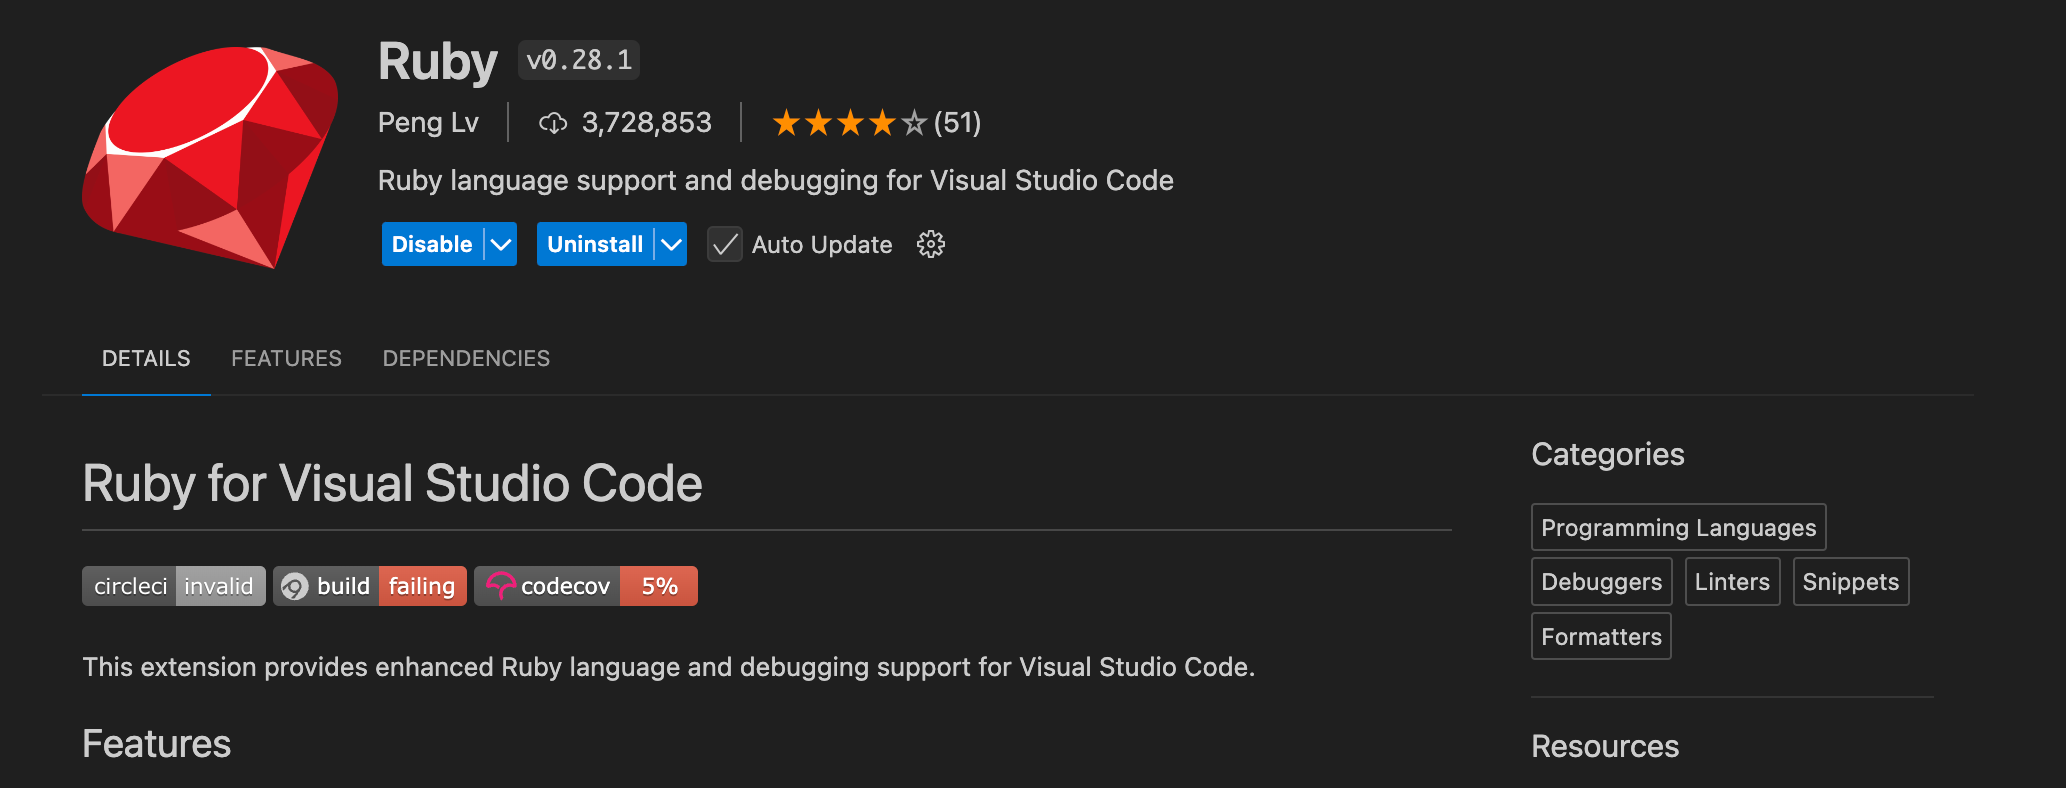
在 VSCode 中,安装 Ruby 插件。

说明:Ruby目前已经废弃(替代方案是 Ruby LSP, 试了一下没弄成功)在VSCode可能无法安装,可以到 Version History 里面手动下载然后通过离线安装的方式使用。
下载 CocoPods 源码
git clone https://github.com/CocoaPods/CocoaPods.git
根据实际需要切换到自己需要的版本:
git checkout `pod --version`
创建 Gemfile 文件
调试 Ruby 主要需要以来两个Ruby库:debase 和 ruby-debug-ide。
source 'https://rubygems.org'

gem 'ruby-debug-ide'
gem 'debase'

gem 'cocoapods', path: './CocoaPods/'
然后执行 bundle install
如果安装 debase/ruby-debug-ide 报错,可以参考 https://github.com/ruby-debug/debase/issues/92 可以使用下面的命令:
gem install debase -v0.2.5.beta2 -- --with-cflags="-Wno-incompatible-function-pointer-types"
gem install ruby-debug-ide -v '0.7.3'
创建 launch.json 文件
创建 .vscode/launch.json 文件,添加如下配置
{
  "configurations": [{
      "name": "Debug CocoaPods with Bundler",
      "showDebuggerOutput": true, // 输出调试信息
      "type": "Ruby", // 告诉VSCode要运行什么调试器
      "request": "launch", // "launch"允许直接从VSCode启动提供的程序-或"attach"-允许您附加到远程调试会话
      "useBundler": true, // rdebug-ide在内运行bundler exec 将Gemfile里面引用的库加到工程中
      "cwd": "${workspaceRoot}/Demo", // 表示工作空间路径,指定一个iOS工程(需要放在当前目录下面)
      "program": "${workspaceRoot}/cocoapods/bin/pod", // CocoaPods pod命令对应的路径
      "args": ["install"],
      "env": {}
    }
  ]
}

点击 Debug CocoaPods with Bundler 可以启动项目。可能存在报错:
(1) VSCode 没有使用RVM对应的Ruby版本
找到一个命令,出处可以生成环境变量配置:
printf "\n\"env\": {\n \"PATH\": \"$PATH\",\n \"GEM_HOME\": \"$GEM_HOME\",\n \"GEM_PATH\": \"$GEM_PATH\",\n \"RUBY_VERSION\": \"$RUBY_VERSION\"\n}\n\n"
在终端执行可以得到环境变量配置:
➜  ~ printf "\n\"env\": {\n  \"PATH\": \"$PATH\",\n  \"GEM_HOME\": \"$GEM_HOME\",\n  \"GEM_PATH\": \"$GEM_PATH\",\n  \"RUBY_VERSION\": \"$RUBY_VERSION\"\n}\n\n"

"env": {
  "PATH": "/Users/xxxx/.rvm/gems/ruby-3.0.0/bin:/Users/xxxx/.rvm/gems/ruby-3.0.0@global/bin:/Users/xxxx/.rvm/rubies/ruby-3.0.0/bin:/Users/xxxx/.nvm/versions/node/v16.17.1/bin:/opt/homebrew/opt/openjdk@11/bin:/opt/homebrew/bin:/opt/homebrew/sbin:/usr/local/bin:/System/Cryptexes/App/usr/bin:/usr/bin:/bin:/usr/sbin:/sbin:/var/run/com.apple.security.cryptexd/codex.system/bootstrap/usr/local/bin:/var/run/com.apple.security.cryptexd/codex.system/bootstrap/usr/bin:/var/run/com.apple.security.cryptexd/codex.system/bootstrap/usr/appleinternal/bin:/Library/Apple/usr/bin:/Applications/iTerm.app/Contents/Resources/utilities:/Users/xxxx/.rvm/bin:/Users/xxxx/.rvm/bin",
  "GEM_HOME": "/Users/xxxx/.rvm/gems/ruby-3.0.0",
  "GEM_PATH": "/Users/xxxx/.rvm/gems/ruby-3.0.0:/Users/xxxx/.rvm/gems/ruby-3.0.0@global",
  "RUBY_VERSION": "ruby-3.0.0"
}
(2) 提示缺少 LANG 环境变量配置
WARNING: CocoaPods requires your terminal to be using UTF-8 encoding.
Consider adding the following to ~/.profile:

export LANG=en_US.UTF-8

/Users/xxxx/CocoaPods/CocoaPods/lib/cocoapods/config.rb:106: warning: $SAFE will become a normal global variable in Ruby 3.0
Uncaught exception: Unicode Normalization not appropriate for ASCII-8BIT
按照错误提示可以通过添加环境变量 export LANG=en_US.UTF-8 解决。对应在VSCode中可以加入下面的环境变量配置:
"env": {
    "LANG": "en_US.UTF-8",
    "LANGUAGE": "en_US.UTF-8",
    "LC_ALL": "en_US.UTF-8"
}
完整的 .vscode/launch.json 配置示例如下:
{
  "configurations": [{
      "name": "Debug CocoaPods with Bundler",
      "showDebuggerOutput": true,
      "type": "Ruby",
      "request": "launch",
      "useBundler": true,
      "cwd": "${workspaceRoot}/Demo",
      "program": "${workspaceRoot}/cocoapods/bin/pod",
      "args": ["install"],
      "env": {
        "PATH": "/Users/xxxx/.rvm/gems/ruby-3.0.0/bin:/Users/xxxx/.rvm/gems/ruby-3.0.0@global/bin:/Users/xxxx/.rvm/rubies/ruby-3.0.0/bin:/Users/xxxx/.nvm/versions/node/v16.17.1/bin:/opt/homebrew/opt/openjdk@11/bin:/opt/homebrew/bin:/opt/homebrew/sbin:/usr/local/bin:/System/Cryptexes/App/usr/bin:/usr/bin:/bin:/usr/sbin:/sbin:/var/run/com.apple.security.cryptexd/codex.system/bootstrap/usr/local/bin:/var/run/com.apple.security.cryptexd/codex.system/bootstrap/usr/bin:/var/run/com.apple.security.cryptexd/codex.system/bootstrap/usr/appleinternal/bin:/Library/Apple/usr/bin:/Applications/iTerm.app/Contents/Resources/utilities:/Users/xxxx/.rvm/bin:/Users/xxxx/.rvm/bin",
        "GEM_HOME": "/Users/xxxx/.rvm/gems/ruby-3.0.0",
        "GEM_PATH": "/Users/xxxx/.rvm/gems/ruby-3.0.0:/Users/xxxx/.rvm/gems/ruby-3.0.0@global",
        "RUBY_VERSION": "ruby-3.0.0"
        "LANG": "en_US.UTF-8",
        "LANGUAGE": "en_US.UTF-8",
        "LC_ALL": "en_US.UTF-8"
      }
    }
  ]
}
最终整体目录结构如下:
vscode_cocoapods_debug
│── .vscode
│   └── launch.json
├── CocoaPods
├── Demo
├── Gemfile
├── Gemfile.lock
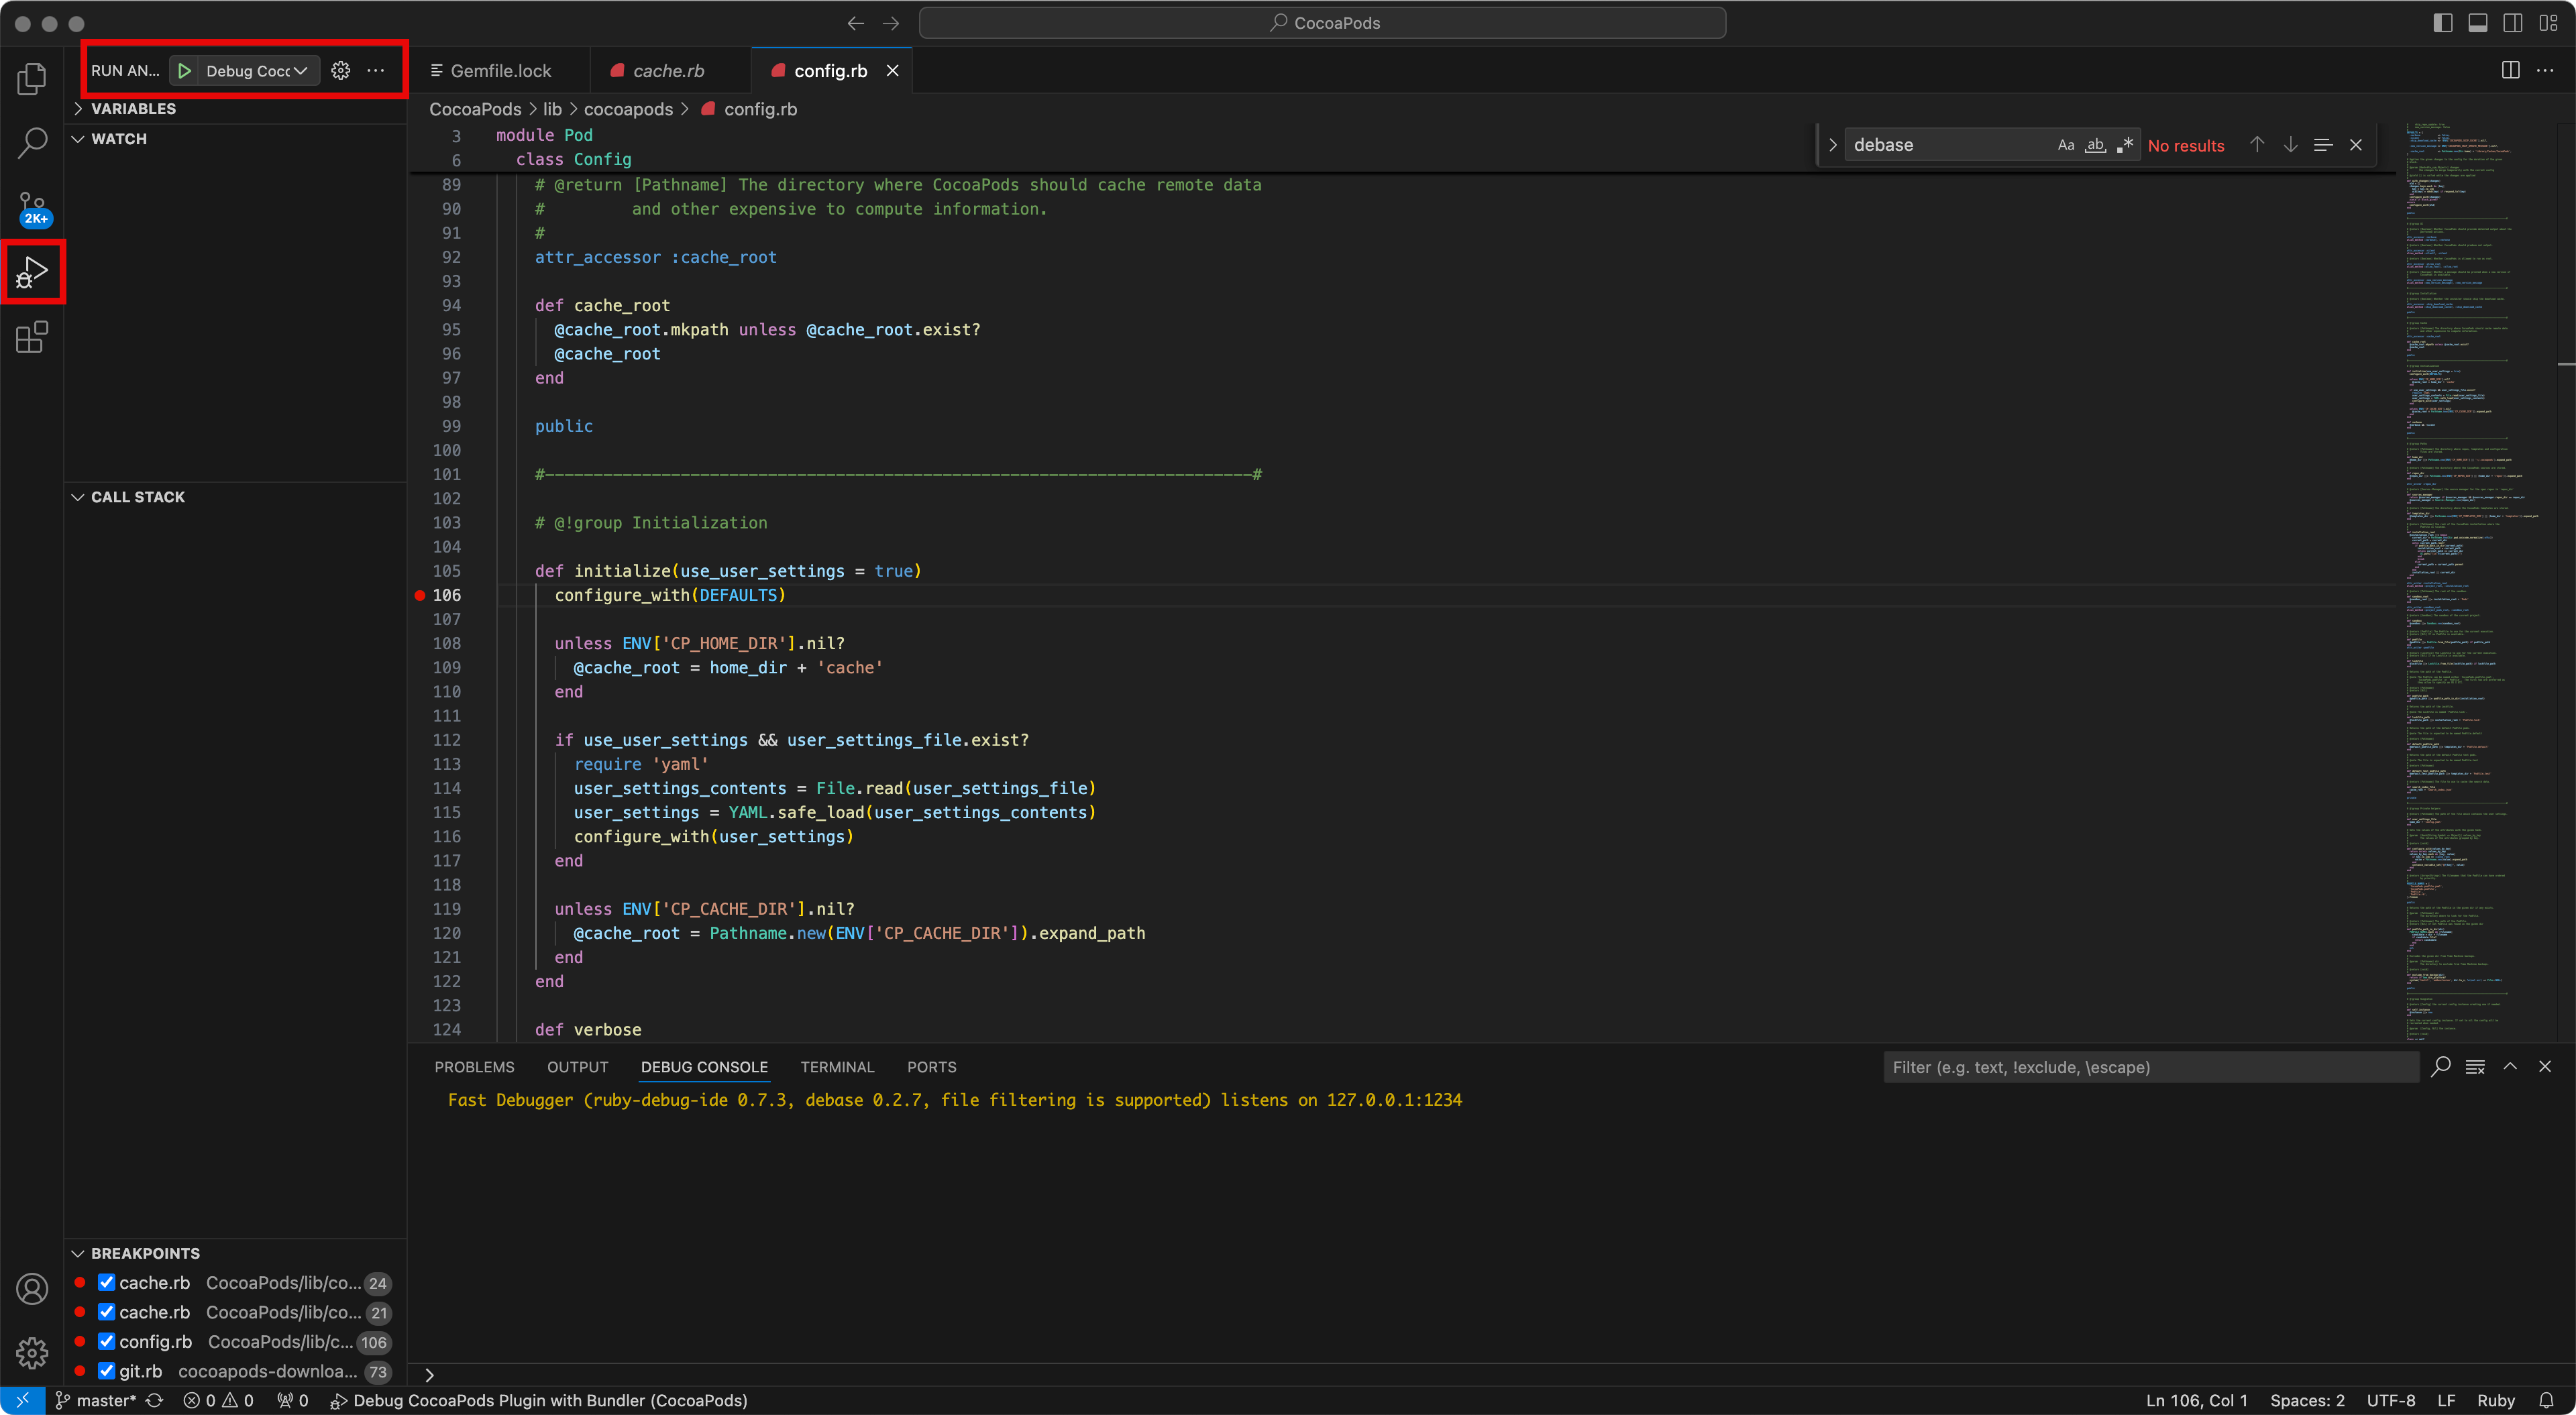
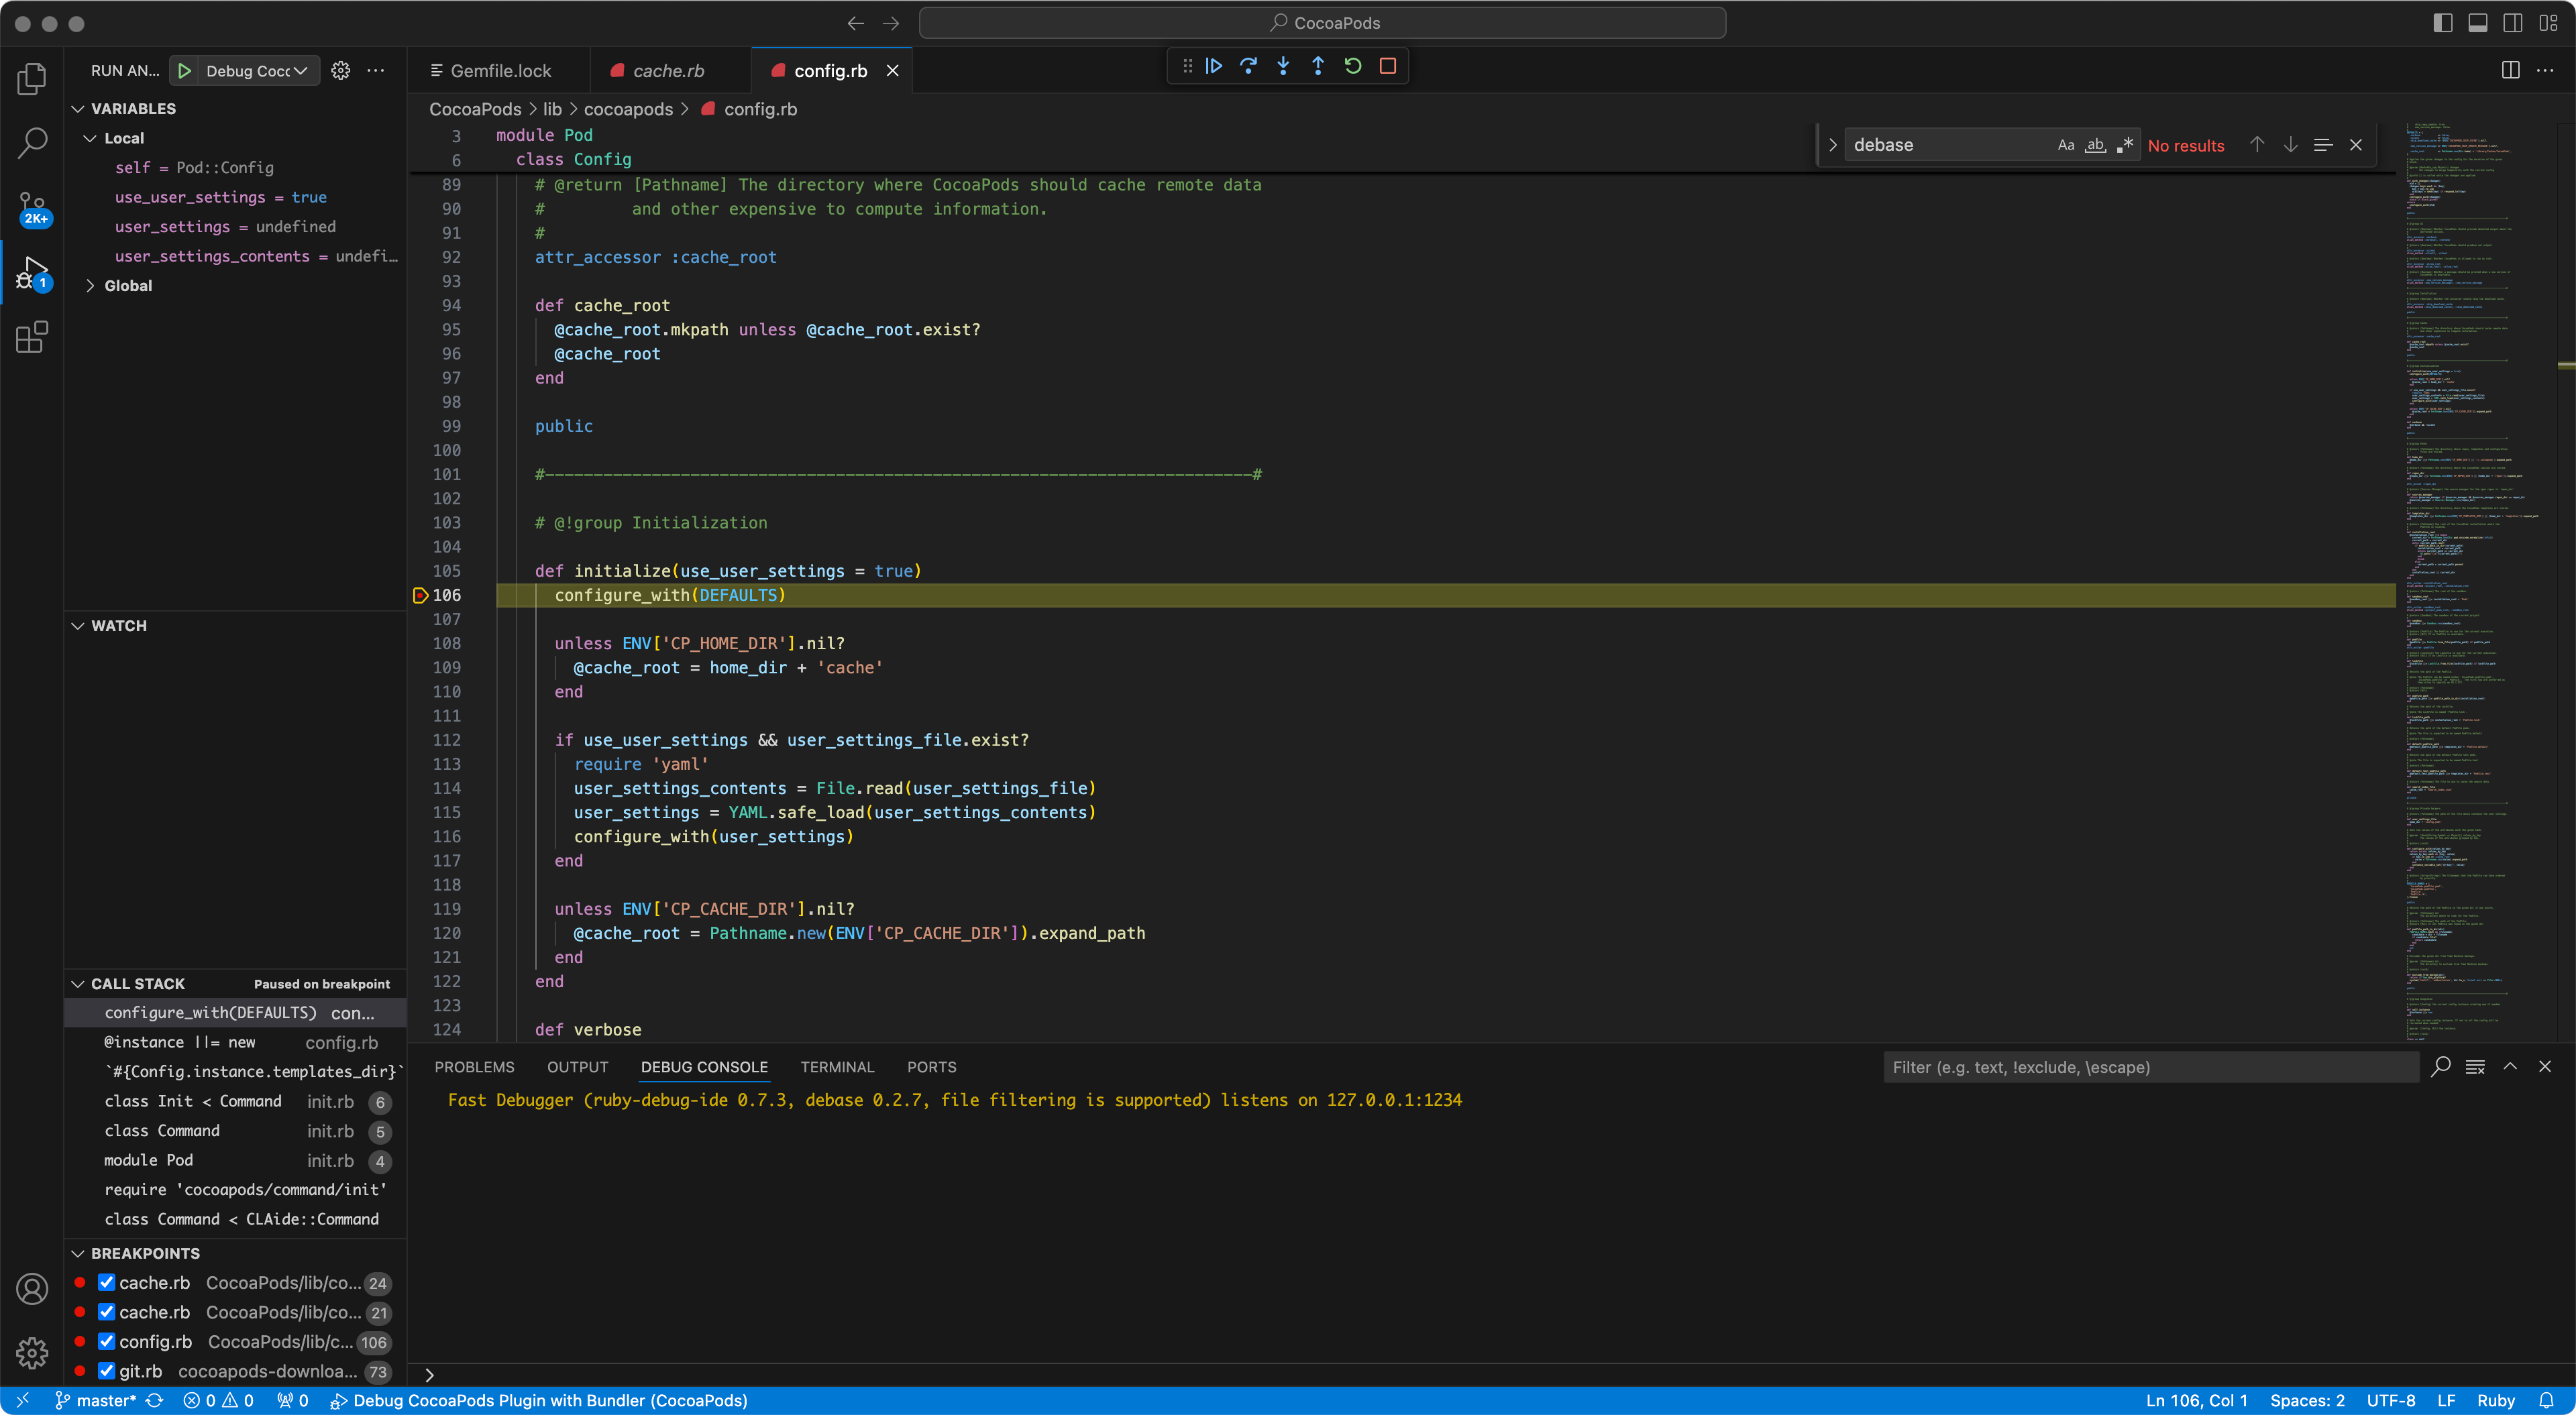
找个地方添加一个断点,运行效果

调试的工程代码:https://github.com/hhtczengjing/vscode_cocoapods_debug