每年到了开发证书过期的时候都需要手动一个个的更新项目的描述文件(mobileprovision),刚开始一两个手动操作一下几分钟也就完事了,如果几十个要一个个的手动去操作就太浪费时间了。有的时候还要补充添加一些新设备进来,又要重复执行一次,随便弄一下一上午就过去了。
在之前公司项目中是使用fastlane match进行证书管理的,做法是使用 fastlane 生成证书描述文件,然后提交到git仓库里面。
使用的时候只要指定仓库和identifier就可以自动搞定(参考下面的官方示例代码配置)。
git_url("https://github.com/fastlane/certificates")

app_identifier("tools.fastlane.app")
username("user@fastlane.tools")
这个里面主要是使用到了 spaceship 这个库。为了解决繁琐的添加设备批量更新描述文件的需求,基于 spaceship 实现了一个简单的脚本,这里主要记录一下实现的步骤:
1、登录
Spaceship.login('your_apple_id')
如果不想在代码里面指定appleid可以使用环境变量FASTLANE_USER来替代,在使用过程中如果遇到下面的错误提示:
`parse_response': {"responseId"=>"b2b8416a-5efe-4e00-8f70-1da351095d63", "resultCode"=>3018, "resultString"=>"Please update to Xcode 7.3 or later to continue developing with your Apple ID.", "userString"=>"Please update to Xcode 7.3 or later to continue developing with your Apple ID.", "creationTimestamp"=>"2024-10-08T04:06:37Z", "protocolVersion"=>"QH65B2", "userLocale"=>"en_US", "requestUrl"=>"https://developerservices2.apple.com/services/QH65B2/ios/listProvisioningProfiles.action", "httpCode"=>200} (Spaceship::UnexpectedResponse)
可以在执行脚本前添加如下环境变量:
export SPACESHIP_AVOID_XCODE_API=1
按照要求输入密码,如果开启了双因素认证还会要求输入短信验证码之类的:
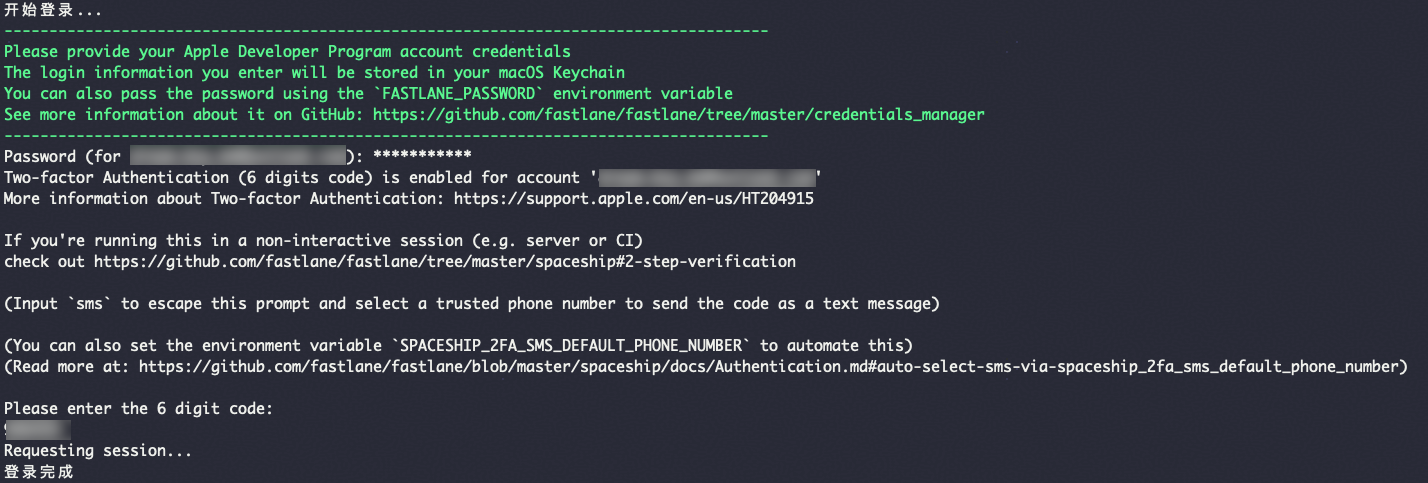
说明:
- 登录完成后会缓存会话的状态,生成的会话将存储在
~/.fastlane/spaceship/[email]/cookie里面。会话有效期约为一个月左右,但是这个时间并不是可控的,有很多因素会导致Session过期。 - 如果需要在CI系统里面使用可以将上面的的session拷贝出来放在环境变量
FASTLANE_SESSION里面使用
2、维护设备列表
def create_device(udid, name, status)
    device = Spaceship::Portal.device.find_by_udid(udid, include_disabled: true)
    # 如果device不存在则创建,如果status为disabled就不需要创建
    unless device
        return if status == 'disabled'
        device = Spaceship::Portal.device.create!(name: name, udid: udid)
    else
        if status == 'enabled'
            device.enable!
        else
            device.disable!
        end
    end
end
3、创建appid
因为我们的应用是包含Plugins的,Plugins和主应用之间通过Group进行关联,那么得先创建group id, 下面的代码是判断group是否存在如果不存在就创建一个新的 group:
def create_group(group_id, name)
    # Create a new group if needed
    group = Spaceship::Portal.app_group.find(group_id)
    unless group
        group = Spaceship::Portal.app_group.create!(group_id: group_id, name: name)
    end
    return group
end
接下来就是创建app id了,每个app会开启一些能力(Capabilities, 如推送、HealthKit等) 下面的代码实现了:
- (1)检查指定 bundle_id 对应的app是否存在,不存在就创建
- (2)根据指定的capabilities列表给app绑定对应的app_service是否开启
- (3)如果支持app_group,则关联上面创建的group
def create_app(group, bundle_id, name, capabilities)
    # Create a new app if needed
    app = Spaceship::Portal.app.find(bundle_id)
    unless app
        app = Spaceship::Portal.app.create!(bundle_id: bundle_id, name: name)
    end
    puts " app: #{app.bundle_id}, #{app.name}"

    # update app services
    capabilities.each do |item|
        case item
        when "health_kit"
            app = app.update_service(Spaceship::Portal.app_service.health_kit.on)
        when "app_group"
            app = app.update_service(Spaceship::Portal.app_service.app_group.on)
        when "push_notification"
            app = app.update_service(Spaceship::Portal.app_service.push_notification.on)
        when "access_wifi"
            app = app.update_service(Spaceship::Portal.app_service.access_wifi.on)
        when "associated_domains"
            app = app.update_service(Spaceship::Portal.app_service.associated_domains.on)
        when "nfc_tag_reading"
            app = app.update_service(Spaceship::Portal.app_service.nfc_tag_reading.on)
        # ... 省略部分代码 ...
        else
            puts "  unknown service: #{item}"
        end
    end

    # associate app with group
    if capabilities.include?("app_group")
        app = app.associate_groups([group])
    end
    puts "  enable_services: #{app.enable_services}"

    return app
end
部分新增的app_service可能不存在,如
Communication Notifications需要手动去操作或者是去找对应的代码使用自定义生成(AppService.new_service("代码"))。目前支持的类型可以到源码里面去找。
4、创建描述文件
最后一步就是检查描述文件是否创建,如果没有就新建一个,然后将文件下载到本地。
def development_provisioning_profile(app, mobileprovision)
    # Create a new development provisioning profile
    filtered_profiles = Spaceship::Portal.provisioning_profile.development.find_by_bundle_id(bundle_id: app.bundle_id)
    profile = nil
    if filtered_profiles.length > 0
        exist_profile = filtered_profiles[0]
        dev_certs = Spaceship::Portal.certificate.development.all
        exist_profile.certificates = dev_certs
        profile = exist_profile.update!
    else
        all_devices = Spaceship::Portal.device.all
        provisionNameDev = mobileprovision + '_dev'
        dev_certs = Spaceship::Portal.certificate.development.all
        profile = Spaceship::Portal.provisioning_profile.development.create!(bundle_id: app.bundle_id, certificate: dev_certs, name: provisionNameDev, devices: all_devices)
    end
    puts "  development profile: #{profile.name} #{profile.id}"

    # Download profile
    mobileprovision_filename = profile.name + '.mobileprovision'
    File.write(mobileprovision_filename, profile.download)
end
上面步骤仅演示了如何创建开发使用的描述文件。
完整代码参考:https://github.com/hhtczengjing/spaceship_demo.git